A DIY living room renovation goes wrong when homeowners start with paint and a sofa instead of the floor, walls, wiring, and traffic path. I have watched people spend $4,000 on furniture, then discover the electrical outlets are behind the bookcase and the floor slopes toward the fireplace. Handle the room in the right order and you can do a solid renovation without turning the house into a six-month construction zone.
In San Antonio, a straightforward living room refresh can run from $2,500 to $8,000 if you do the labor yourself. A larger project with new flooring, electrical work, drywall repair, and built-ins can reach $15,000 or more. The number depends less on paint color than on what you find underneath the old finishes.
Start With the Floor and Walls
Before ordering anything, remove the quarter-round and inspect the flooring at the edges. Soft spots, dark staining, or a noticeable slope deserve attention before you install laminate or hardwood. On a pier-and-beam house, a bouncy area may point to a joist or subfloor problem. On a slab, cracked tile can indicate movement, moisture, or a bad installation. Do not cover a problem because the new flooring will only hide it for a few months.
For a 200-square-foot room, budget roughly $800 to $2,400 for good laminate, $1,400 to $3,500 for engineered wood, or $600 to $1,800 for carpet, including basic materials and waste. Add more for leveling. Luxury vinyl plank is forgiving and practical around pets, but the subfloor still needs to be reasonably flat. No flooring product fixes a dip you can feel with your bare foot.
Walls come next. Remove loose joint compound, repair nail pops, and check corners with a six-foot level. If the drywall bows, find out why before you skim coat it. I once saw a homeowner finish a whole wall only to discover the framing had never been shimmed around a replacement window. The correct repair took an afternoon; the incorrect finish added two weekends of sanding.
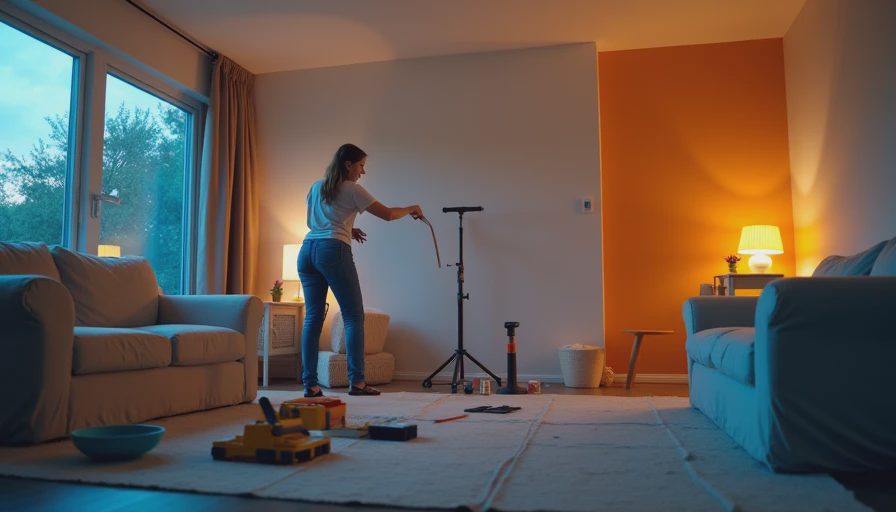
Use a stain-blocking primer over water marks, smoke residue, or crayon. Standard wall paint will not reliably cover those contaminants. For most living rooms, a quality acrylic interior paint costs about $45 to $75 per gallon, and two coats usually beat one expensive coat applied too thin.
Fix Light, Outlets, and Airflow Before Finishes
A living room renovation is the right time to correct lighting. Count the existing outlets, identify which switch controls which fixture, and decide where the television and lamps will actually sit. If the room has one ceiling light in the center, that fixture is doing too much work. Recessed lights, wall sconces, or switched floor outlets can make the room usable at night without relying on a glaring ceiling fixture.
Turn off the breaker and verify the circuit before removing a device. If you are not comfortable identifying wires, hire a licensed electrician. Adding a few outlets may cost $150 to $300 each in an accessible wall, while a new ceiling box or difficult wire run can cost considerably more. The money is cheaper than repairing a damaged circuit or an overheated extension cord.
Check the HVAC supply and return vents before placing furniture. A deep sectional parked over a floor register will block air and often makes the room feel unevenly heated. Leave clearance around returns, and do not bury a thermostat behind a curtain. In older San Antonio houses, poor airflow can make a living room uncomfortable even when the equipment itself works correctly.
Build the Layout With Tape, Not Hope
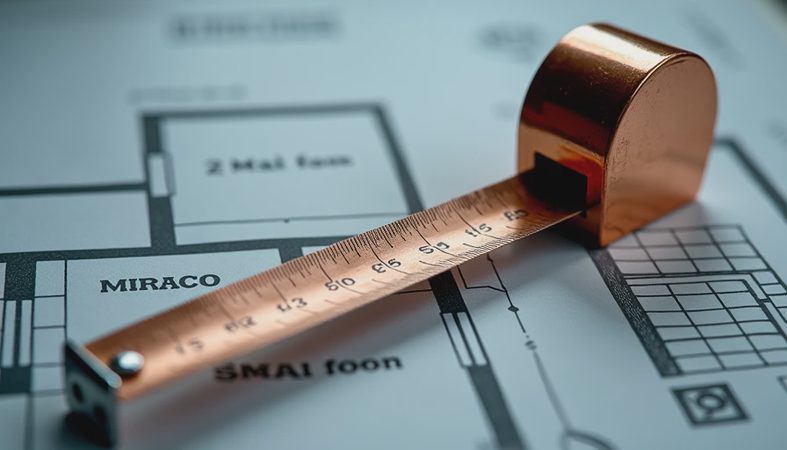
Measure the room, every doorway, stair turn, radiator, vent, and window casing. Then mark the proposed sofa and chairs on the floor with painter's tape. Leave roughly 30 to 36 inches for a main walkway when the room allows it. Keep at least 16 to 18 inches between a coffee table and the front edge of seating so people can pass without turning sideways.
This step catches expensive mistakes. A sectional can fit on paper and still fail at the front door because the box cannot clear the hallway. I have seen a $2,800 sectional sit in a garage for three weeks while the owner paid for a return pickup. Measure the narrowest point, not just the room's square footage. Confirm the furniture's boxed dimensions with the retailer before placing the order.
For television placement, keep the screen away from direct afternoon sun when possible. Put the center of the screen near seated eye level rather than mounting it high above the fireplace by default. If the viewing distance is about eight to ten feet, a mid-size television is often easier on the neck than an oversized screen mounted too close.

Choose Materials That Survive Actual Life
For a busy household, I would rather install a washable matte or eggshell paint than a delicate designer finish that shows every handprint. Use semi-gloss on trim and doors if you want easier cleaning, but prep matters more than sheen. Sand glossy surfaces, caulk open joints, and remove dust before painting.
If children or pets use the room, skip a fragile glass coffee table and choose a solid wood, laminate, or metal frame with softened corners. A $250 table that can take abuse is a better buy than a $900 piece that requires constant policing. For rugs, look for a low pile that a vacuum can reach and a pad that will not slide. Cheap pads can discolor some floors and bunch at the corners.
Curtains should clear the floor without dragging, and rods need to be fastened into framing or proper anchors. A rod screwed only into drywall will eventually sag when someone opens the curtains. Measure from the actual rod location to the floor, not from the top of the window trim.
A Practical Budget and Work Sequence
A lean DIY living room renovation budget might look like this: $300 to $700 for repairs and supplies, $600 to $1,800 for paint and trim, $800 to $3,500 for flooring, $200 to $700 for lighting and electrical materials, and $1,000 to $4,000 for furniture. Keep 15 percent aside for surprises. Missing subfloor damage, extra floor leveling, and an electrical panel issue are common budget breakers.
The work sequence should be demolition, inspection, electrical and HVAC adjustments, wall repair, ceiling and wall paint, flooring, trim, lighting installation, and furniture. Flooring before messy drywall sanding is a rookie error. Furniture before final cleaning is how new upholstery gets coated in construction dust.
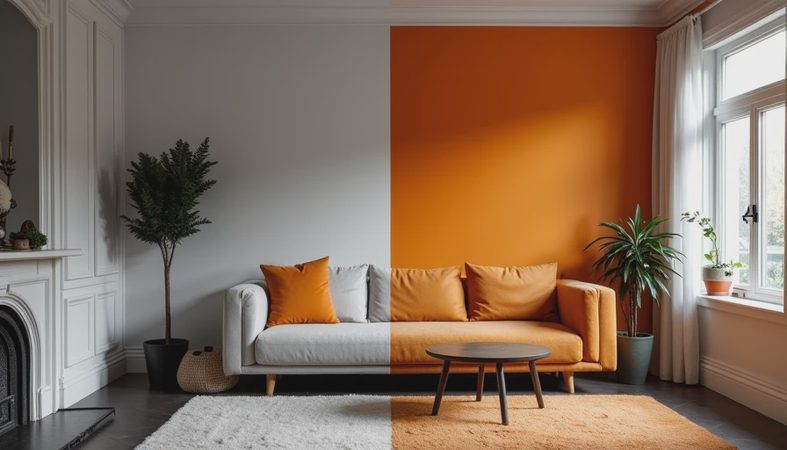
Buy samples before committing. Put flooring, paint, and fabric in the actual room and look at them in morning, afternoon, and evening light. A gray that looks clean in the store can look blue beside a cool LED bulb. This ten-dollar test prevents a thousand-dollar redo.
The Final Punch List
Before calling the project finished, walk the room with a flashlight held low against the walls. That exposes ridges, missed nail holes, and uneven paint edges. Test every outlet, switch, light, and smoke alarm. Run the HVAC with the doors closed and confirm air still moves through the room. Open and close the windows, check that trim is tight, and vacuum under every furniture piece before it arrives.
A successful DIY living room renovation is not the one with the most expensive finishes. It is the room where the floor feels solid, the lights work from the correct switch, the sofa fits through the door, and nobody has to step over a cord to reach a chair. If the inspection reveals structural movement, unsafe wiring, active moisture, or work that requires permits, bring in the right trade. Spend your DIY energy where it saves money, not where it creates a hidden repair.

No comments yet — be the first to share a thought.