Living room renovation pictures are useful only when you know what you are looking at. A finished room can hide a sagging floor, crooked drywall, weak lighting, or a sofa nobody can comfortably sit on. I have managed enough living room projects around San Antonio to know that the photograph is the last step, not the plan. Before you copy a wall color or order a sectional, inspect the floor, wiring, airflow, windows, doors, and walking paths. Those decisions determine whether the room works six months after the photographer leaves.
Read the room before you copy the picture
Start with the structure. Walk across the floor and look for soft spots, squeaks, cracked tile, or a noticeable slope. In a 1990s two-story house, the problem may be a loose subfloor or an undersized joist, not an ugly flooring choice. Repairs can run from $300 for a small subfloor patch to several thousand dollars when access is difficult. Fix that before installing hardwood or luxury vinyl plank.
Next, check the walls. Put a long level against the drywall around windows, corners, and the television wall. Wavy framing will show through smooth paint and large-format panels. A drywall repair crew may charge $800 to $2,500 for a typical living room, depending on damage and texture. If recessed lights, outlets, or a media connection are moving, the electrician comes before the drywall finisher.
Living room renovation pictures often make a room look larger because the camera is wide-angle. Measure the actual space, including door swings and baseboard heaters. A 96-inch sofa that looks reasonable online can block a hallway or leave only 24 inches between the coffee table and seat. I have watched homeowners return furniture after paying hundreds of dollars in delivery and restocking charges.
Put the work in the right order
The reliable sequence is demolition, structural repairs, electrical and lighting, HVAC adjustments, drywall, flooring, paint, window coverings, and furniture. That order is not fussy; it prevents expensive rework. If you install flooring before moving an outlet, the electrician can damage the new surface. If you paint before drywall sanding is finished, every patch will show when sunlight hits the wall.
For a moderate San Antonio living room, a practical renovation often lands between $12,000 and $30,000. Demolition and disposal may take $500 to $1,500. Electrical work can run $1,500 to $4,000 if you add recessed lighting, sconces, outlets, and a television connection. Flooring commonly costs $3,000 to $8,000, while drywall, trim, and paint can add another $2,500 to $6,000. These are working ranges, not promises, but they are closer to job-site reality than a television makeover budget.
The budget usually blows up when homeowners discover hidden damage after demolition. Water stains around a window, missing insulation, aluminum wiring, or a cracked slab changes the conversation quickly. Keep at least 10 percent in reserve. Spending every dollar on furniture before opening the walls is how a manageable project turns into a stalled one.
What living room renovation pictures should show
Good living room renovation pictures show more than a clean sofa and a plant. Look for the ceiling fixtures, outlet locations, vent placement, trim transitions, and the way the room connects to adjacent spaces. A photograph taken from the doorway can reveal whether the main path crosses directly in front of the television or cuts between the sofa and kitchen.
Use a tape measure while studying examples. Note the distance from sofa to television, the width of the walkways, and the height of the light fixtures. For most seating arrangements, 30 to 36 inches gives people a comfortable path. A coffee table generally needs about 16 to 18 inches between its edge and the sofa, enough room to reach a drink without creating a dangerous gap.
Lighting deserves its own inspection. One ceiling fan light is rarely enough for reading, cleaning, and evening television. I prefer layered fixtures: recessed lights on a dimmer, a floor lamp beside a chair, and controlled light at the media wall. In a bright Texas room, use shades that reduce glare without turning the room into a cave. Cheap paper shades can yellow or sag; woven or cellular options usually hold up better when installed correctly.

Choose materials that survive real life
Flooring needs to match the household, not the photograph. Engineered wood feels warmer and can look excellent, but standing water and careless mopping still cause trouble. Luxury vinyl plank handles dogs, kids, and wet shoes better, though poorly prepared concrete can telegraph bumps through the finished floor. Carpet is comfortable and quieter, but it shows traffic lanes and requires a proper tack-strip installation.
For walls, a washable eggshell paint is usually more useful than an expensive specialty finish. Sherwin-Williams and Benjamin Moore both sell durable interior lines, but preparation matters more than the label. A patched wall with no primer will flash under a window no matter how much the gallon costs. Use paintable caulk at trim joints, and do not skip sanding between coats when the light is harsh.
Furniture needs a delivery plan. Measure the front door, stairwell, elevator, hallway turns, and the narrowest point inside the house. Modular sofas from brands such as Room & Board or West Elm can solve access problems, but verify the assembled depth and cushion construction before ordering. A deep sofa may look comfortable in living room renovation pictures while leaving shorter adults unsupported.
Build the layout around daily traffic
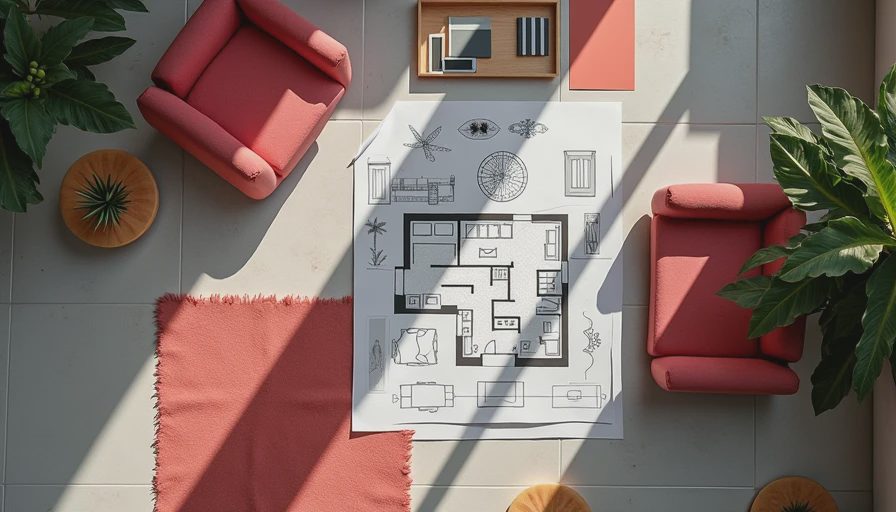
Place the largest seating first, then test the walking route with painter's tape. Mark the sofa, chairs, coffee table, and television at their real dimensions. Live with that tape for a day. You will notice whether someone walking to the kitchen clips the coffee table or whether a chair blocks the air return.
Do not center every piece on the room if the architecture does not cooperate. Center the seating on the main use: conversation, television, a fireplace, or a window view. A television over a fireplace can work, but it may be too high for comfortable viewing and can expose electronics to heat. A low media console on a different wall is often the better answer, even when living room renovation pictures make the over-fireplace arrangement look tidy.
Leave access to windows, vents, outlets, and shutoff panels. Furniture that looks perfect but requires moving a sofa to reach the thermostat is a daily nuisance. In my own house, we kept one chair smaller than the room could technically handle because it preserved the path from the entry to the kitchen. That choice matters more than matching every seat.
Use pictures as a checklist, not a shopping list
When you save living room renovation pictures, write down what you like and what you would change. Is it the amount of light, the floor direction, the storage, or simply the absence of clutter? Separate those observations from products. You may want the calm layout shown in a magazine, not the exact $4,000 coffee table.
Then price the project in stages. Stage one handles safety, structure, wiring, leaks, and ventilation. Stage two covers drywall, trim, flooring, and paint. Stage three buys lighting, window coverings, and furniture. This approach lets you finish a sound room even if the final chair or custom cabinets must wait.
The best living room renovation pictures will help you ask better questions: Where does the wiring run? What happens when the sun reaches that window? Can the floor handle the furniture? Will the family still have a clear path when backpacks, toys, and laundry baskets appear? Answer those questions before demolition, and your finished room will look good because it works, not because someone adjusted the camera.



No comments yet — be the first to share a thought.