Most living rooms fail the same way: the sofa is fine, the TV is fine, but the room feels gloomy at night because nobody thought through the light. Living room light fixtures are not decoration. They are part of the layout, the traffic pattern, and the way the room gets used after dark. In a real house, that means family movie night, kids on the floor, somebody reading in the corner, and maybe a ceiling fan box that was never meant to carry much weight. If you start with the room instead of the catalog, you spend less and get a room that works.
Start with the room, not the catalog
The first mistake I see is buying living room light fixtures before anyone has measured the seating area or looked at where the windows throw glare. A room with one big south-facing window in San Antonio needs a different plan than a darker room with one tiny opening and an 8-foot ceiling. If the TV wall is opposite the main window, you need to think about reflections before you pick anything shiny or glass-heavy. That drum shade might look clean in a showroom and still bounce glare straight onto the screen.
I also look at what is already in the ceiling. A lot of older homes have a single center box, and that box is not always where the room wants light. Sometimes it sits over a walkway instead of the sofa. Sometimes it is off by a foot because the house was framed around something else. If you know that up front, you can decide whether the room needs a center fixture, recessed cans, floor lamps, or all three. That is how you keep one cheap mistake from turning into drywall work later.
Use layers so the room does not feel flat
The best living room light fixtures do one job in the middle of the room, but they should not be doing all the work. You want light coming from more than one height. Overhead light gives you the base layer. Lamps give you softer light where people sit. A pair of wall sconces or a couple of recessed cans can pull the room together without making it feel like a waiting room.
Here is the simple version I use on jobs. A medium-sized room, say 16 by 20 feet, often ends up with one central fixture, four recessed cans near the perimeter, and two lamps by the seating. That gives you enough light for cleaning, reading, and moving around without blasting the whole room at full power all night. Put everything on a dimmer if you can. A room that can be bright at 7 p.m. and calm at 10 p.m. gets used more. Good living room light fixtures are only half the job; the bulb and dimmer matter just as much.
Match the fixture to the ceiling and the wiring you already have
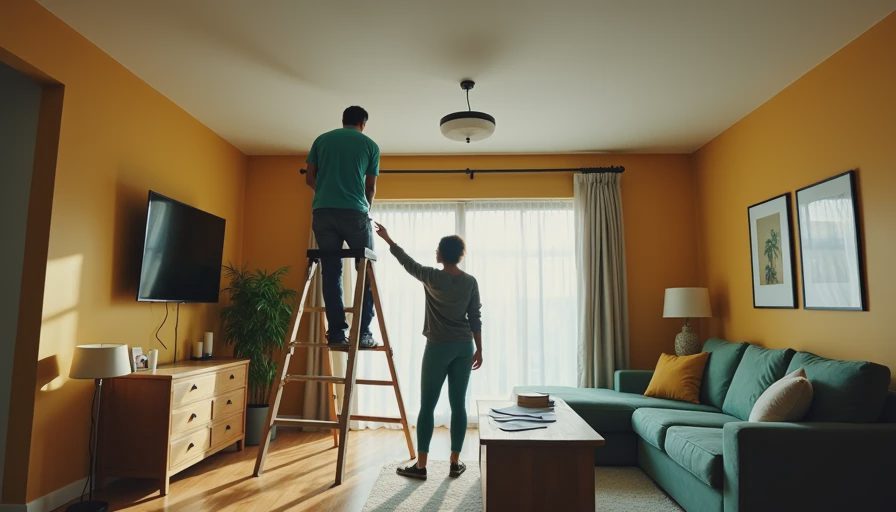
Ceiling height is not a small detail. In a room with an 8-foot ceiling, a flush mount or a tight semi-flush fixture usually makes sense. If you hang something too deep, people will feel it every time they stand up. In a room with 9- or 10-foot ceilings, you get more room for a chandelier or a larger semi-flush piece, but only if the scale fits the room. A big open cage fixture in a small room looks goofy. A tiny bowl on a tall ceiling looks lost.
The wiring matters just as much. If the existing box is old, loose, or not rated for the weight, do not hang a heavy fixture and hope for the best. I have seen homeowners buy a solid iron piece from West Elm or a glass fixture from CB2 and then learn the box needs to be replaced before anything goes up. That is a small job if you know it early and a headache if the drywall is already painted. If you are opening the ceiling for new wiring, you may also need a new switch leg or a 3-way setup so the room can be controlled from more than one spot. That is where the labor cost starts climbing.
Get the color and control right
A lot of people blame the fixture when the real problem is the bulb. For most living rooms, I like warm white bulbs in the 2700K to 3000K range. They look clean without going blue and cold. Once you get up around 4000K, the room starts feeling like a break room or a dentist office. If you want the room to feel relaxed at night, stay warm and use a dimmer. Lutron and Leviton both make solid dimmers, and a basic LED-compatible model is cheap insurance.
Light output matters too. A single table lamp might throw 800 lumens. A pair of lamps and a ceiling fixture can give you enough light for a normal evening without making the room harsh. If you use LED bulbs, make sure they are dimmable and that the fixture does not trap heat around the socket. Even expensive living room light fixtures look wrong with the wrong bulb. I have walked into finished rooms where the homeowner spent real money on the fixture, then used bright white bulbs that made the whole place feel flat and cheap.

What the money looks like in the real world
When I price living room light fixtures for a remodel, I do not start with the showroom price tag. I start with the whole job. A simple fixture swap in a room with good wiring might run $150 to $400 in labor, plus the fixture itself. Add a dimmer and you might be another $75 to $200 into it. If you are adding recessed lights, figure roughly $150 to $300 per opening installed when the attic is accessible and the ceiling is easy to patch. If the room needs drywall repair, paint, or fishing wire through tight framing, the number climbs fast.
For a full living room refresh in a typical San Antonio house, I usually see a lighting budget somewhere between $900 and $2,500 if the electrical work is straightforward. If the ceiling is closed up, the box has to be moved, or the room needs several new circuits, $3,000 to $6,000 is not crazy. That range is why the order matters. Decide on the layout first, then the fixtures, then the electrical work, then the paint touch-up. If you do it backwards, you pay twice.
Mike's clipboard: the order I use on site
I start by standing in the room and marking where people sit, where they walk, and where the TV lands. Then I check ceiling height, existing boxes, and whether the room already has enough wall outlets for lamps. After that, I choose the fixture type that matches the room instead of forcing the room to fit the fixture. That is the whole game.
If you want the short version, buy the light after the layout is set, not before. Pick a warm bulb, add a dimmer, and make sure the fixture fits the ceiling and the box it is hanging from. Do that, and the room feels finished without looking overworked. Skip that order, and you end up with a room that is expensive, awkward, and somehow still too dark.



No comments yet — be the first to share a thought.