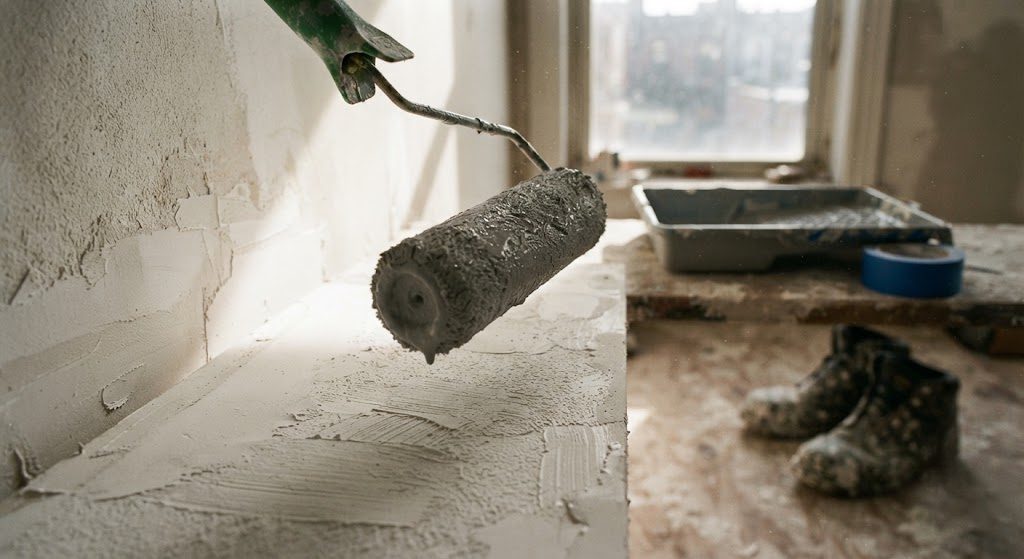
Paint is the first thing every homeowner wants to do, and I understand why. For less than a hundred dollars and a Saturday afternoon, you can change the entire feel of a room. No permits, no subcontractors, no demolition. Just you, a roller, and a couple of gallons.
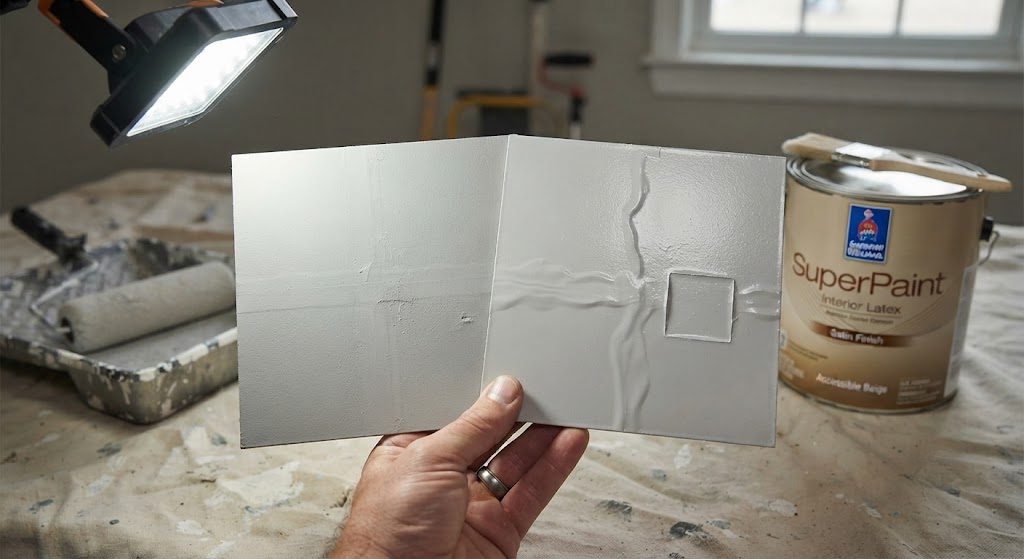
And that’s exactly why paint is dangerous. Because it’s cheap and easy, people skip the prep, grab the wrong sheen, and end up with walls that look worse than before they started. I’ve been called into living rooms where the homeowner spent a full weekend painting, stood back to admire the work, and noticed — for the first time — every seam, wave, and patch job the drywall guy left behind. The paint didn’t cause those problems. It just put a spotlight on them.
Here’s how to pick the right paint, prep the right way, and avoid the five mistakes I see on repeat.
Sheen Is Not About Style — It’s About Wall Condition and Survival
Flat / Matte
Flat paint has no shine, which means it hides bad drywall like nothing else. Uneven texture, wavy seams, amateur patch jobs — flat makes them all less visible. That’s why builders spray it in new construction. It’s cheap and forgiving.
But flat paint has a fatal flaw in a living room: you can’t clean it. A kid’s handprint, a splash of coffee, a dog shaking off rain — scrub flat paint once and you’ll burnish a shiny spot into the wall forever. I only spec flat for ceilings and walls that nobody touches.
Eggshell
Eggshell has just enough sheen to reflect a little light without making every imperfection scream. It’s cleanable, though not scrubbable. For living rooms with moderate traffic and no toddlers, it’s my default recommendation. It walks the line between hiding flaws and surviving life.
Satin
Satin is more durable and easier to wipe down. It also shows every drywall sin. If your walls are dead flat and finished to a level 5 smooth, satin can look incredible. If your walls are average — and most are — satin will reveal every seam and shadow. I tell clients: don't step up to satin unless you’ve already paid for the drywall work to support it.
Semi-Gloss and Gloss
These belong on trim, doors, and baseboards. Not walls. Ever. Unless you want your living room to feel like a hospital corridor.
The One Paint Brand I Use on Every Job
I’ve shot Sherwin-Williams, Behr, Benjamin Moore, and store-label paints through sprayers and rolled them by hand. The one I keep coming back to is Sherwin-Williams SuperPaint in eggshell for living room walls and ProClassic for trim. It covers well, levels out, and holds up.
I’m not paid to say that. I buy it by the five-gallon bucket. Your local paint store will have equivalents — but don’t grab the cheapest contractor-grade paint and expect it to cover in one coat. It won’t.
Prep Is 80 Percent of a Paint Job That Lasts
Before you crack a can, fill every nail hole, sand every patch smooth, and wipe down the walls with a damp rag. Dust and grease are the enemies of adhesion. Caulk the gap between baseboards and walls. If you’re painting over a darker color or stained drywall, use a primer — not paint-and-primer-in-one, which is a marketing term I don’t trust on problem surfaces.
Tape your edges carefully, and pull the tape while the paint is still tacky. If you let it dry completely, you’ll peel chunks of paint off with the tape. I’ve patched that mistake more times than I can count.
Color Needs to Be Tested, Not Guessed
The little swatch in the store means nothing once it’s on your wall, in your light, next to your floor. Buy sample pots and paint two-foot squares on every wall. Look at them in the morning, at noon, and at night under your actual lamps. If you ignore this step, don’t be surprised when your “warm greige” looks lavender at sunset.
Paint is the cheapest renovation you’ll ever do. Do it right, and it’s the one that buys you time to save up for the rest. Do it wrong, and you’ll be staring at those shiny patches and uneven cuts until you pay someone to do it again.


No comments yet — be the first to share a thought.