If you want to know how to install crown molding, start by forgetting the television version of the job. This is not a matter of cutting a few boards and shooting nails into the wall. Crown molding crosses two planes, so every framing mistake, uneven ceiling, and bad measurement shows up as a gap. I have installed miles of it in San Antonio houses, and the finished result depends more on preparation than on fancy tools.
Crown molding can make a plain living room look finished, but it will not hide crooked drywall or a ceiling that wanders by half an inch. Buy the molding after you inspect the room, not before. Walk the walls, look for loose tape joints, and check whether the ceiling line stays consistent. If the room needs paint or drywall repair, do that first. Installing trim over unfinished surfaces guarantees another round of caulk and touch-up work.
Prepare the room before cutting anything
Move furniture away from the walls and protect the floor. You need a clear path for an eight- or twelve-foot board, and you need room to stand the material on edge near the saw. Remove old trim carefully with a pry bar and a thin scrap of wood behind it. Pull every nail you can find. One forgotten nail can damage a new board or throw off a cut when the piece is lying flat.
Use a stud finder, then confirm the locations with a small finish nail. Mark studs lightly near the ceiling and again near the floor so the marks remain visible while you work. Crown molding should be fastened into framing whenever possible. Drywall anchors are not a reliable choice for long, heavy trim, especially in a house where doors slam and humidity changes.
Measure the room in inches, recording each wall separately. Do not assume opposite walls match. A room that looks square can have one wall several inches longer than its opposite wall, particularly in older ranch houses. Add ten to fifteen percent for waste. A $150 molding order can become a $300 order when one bad corner consumes two boards.
Choose tools and establish the spring angle
For a normal installation, I use a 10-inch compound miter saw, a sharp 60- or 80-tooth blade, a tape measure, a combination square, a coping saw, an angle finder, a pneumatic 16-gauge nailer, and a smaller 18-gauge brad nailer. A ladder, stud finder, caulk gun, wood filler, and sanding sponge finish the basic setup. Rent the saw if necessary, but do not use a dull blade. Tear-out on a visible trim profile is difficult to repair.
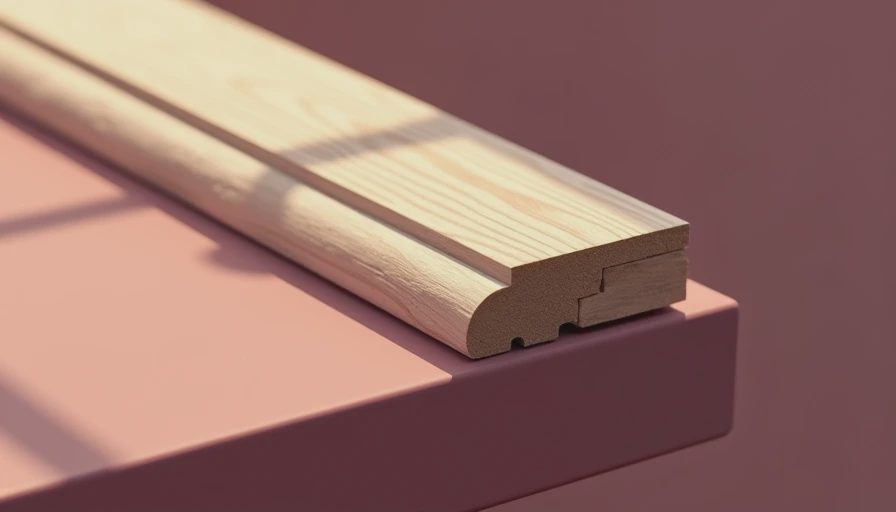
The spring angle is the angle between the back of the molding and the wall. Common profiles use 45 degrees, 52/38 degrees, or 45/45 degrees. Check the packaging or measure the trim with a bevel gauge. For how to install crown molding correctly, this detail matters because the saw settings and the way the board sits against the fence depend on it. If the spring angle is wrong, your corners can be mathematically accurate and still leave a wide gap.
Make two short test blocks from scrap. Label one piece “wall” and the other “ceiling,” then hold them in the same position the finished molding will occupy. This takes five minutes and prevents hours of guessing. Keep those blocks beside the saw as a reference for every cut.
Measure and cut inside corners carefully
Start with the longest wall and plan the joints before making cuts. A scarf joint, where two pieces overlap on a long wall, is usually less noticeable than a butt joint. Place the joint over a stud, cut both pieces in the same direction, and keep the seam away from the main sightline if possible. On a wall under twelve feet, one continuous board is better than any joint.
Inside corners are where most first-time installers get in trouble. Do not assume the corner is 90 degrees. Use an angle finder, divide the measured corner angle in half, and adjust the saw. A 92-degree corner requires two 46-degree cuts, not two 45-degree cuts. That small difference can create a gap wide enough to see from across the room.
One piece can be cut square into the corner, depending on the profile. The mating piece is coped: cut the miter first, then follow the visible profile with a coping saw so the face fits tightly against the first board. Hold the saw slightly back from the face. A coping cut that follows the profile but removes too much material will still leave a hole.
When learning how to install crown molding, practice coping on short scraps before touching the expensive boards. Test-fit each corner at floor level. Mark the back of every piece with its wall location. That simple habit prevents installing a perfect piece on the wrong side of the room.
Fasten the molding in the right order
Install the first long piece with its ends already prepared. Hold it tight to the ceiling and wall, then drive 16-gauge nails through the thick part of the molding into marked studs. Use two nails at each stud when the profile is tall or heavy. The lower nail should enter the wall framing, while the upper nail should enter ceiling framing or a backing strip. Do not rely on the drywall edge to hold the trim.
A helper makes this easier, but a few temporary blocks can support a long piece when you are working alone. Cut small blocks at the correct spring angle and attach them just below the ceiling with short screws. The molding rests against them while you fasten it. Remove the blocks afterward and fill the holes.
For outside corners, miter both pieces and glue the joint with wood glue before nailing. Add a couple of 23-gauge pins through the joint if you have a pin nailer. This keeps the point aligned while the glue dries. Never force a board into place so hard that it bows away from the wall. It will eventually pull loose or open a gap.
Fill, caulk, and paint like the work matters
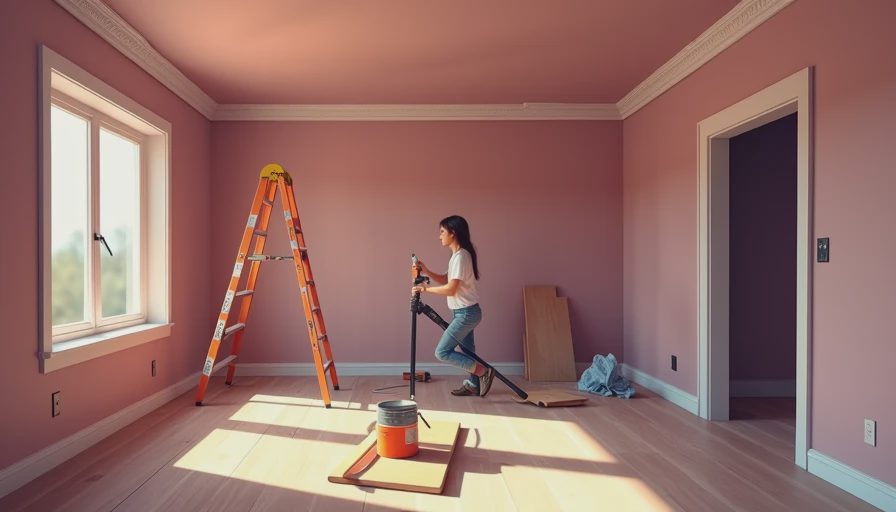
Once the molding is installed, inspect every joint from standing height and from the center of the room. Fill nail holes with paintable filler, not silicone. Use a flexible paintable acrylic caulk along the ceiling and wall lines. On a long gap caused by an uneven ceiling, caulk can hide a modest variation, but it is not plaster. If the gap is larger than about a quarter inch, add backing material or repair the drywall instead of smearing on a thick bead.
Sand filled holes lightly with a fine sanding sponge. Do not aggressively sand the profile; sharp edges disappear quickly. Prime bare wood, cut ends, and filler spots before applying two thin coats of trim paint. A satin or semi-gloss finish is easier to clean in a living room than flat paint, and it makes small surface defects easier to spot before the final coat.
How to install crown molding is also a question of timing. Paint the wall before installing the trim when possible, but paint the molding after installation so joints and nail holes disappear under one continuous finish. Keep a small artist's brush nearby for corners and a damp rag for cleaning caulk smears.
The mistakes that cost the most time
The first expensive mistake is measuring only the floor. Walls can lean, and ceiling lines can change. Measure at the installation height and check each corner. The second is cutting every piece before test-fitting one. Drywall thickness, corner bead, and framing can change the result. Cut, test, mark, and then cut the next piece.
Another common problem is using lightweight foam molding to cover a wall that needs real protection. Foam is easier to cut and can work in a quiet dining room, but it dents easily near doorways and furniture. Primed finger-jointed pine or MDF is more durable for most living rooms, while solid wood is worth considering when the trim will be stained.
If you are still deciding how to install crown molding yourself, price the time honestly. A modest room may take a skilled installer four to six hours, while a beginner can spend an entire weekend on measuring, coping, filling, and repainting. Materials commonly run $2 to $12 per linear foot depending on profile and material; professional labor can add several hundred dollars. The job is manageable, but only if you treat every corner as a measurement problem instead of trying to muscle the boards into place.
Start with one short wall, make accurate test cuts, and let the trim teach you how the room is built. That approach is slower for the first few feet and much faster by the last corner.


No comments yet — be the first to share a thought.