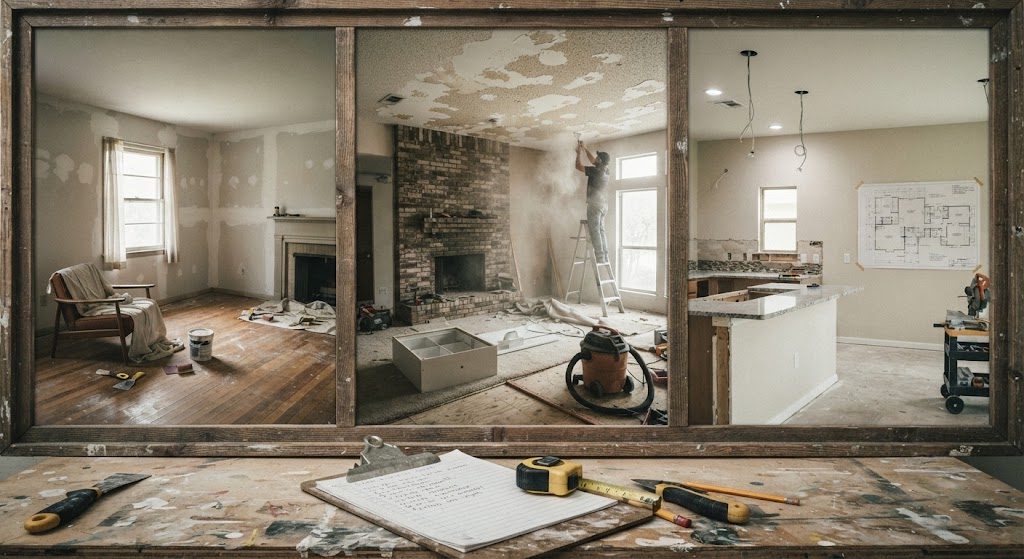
I keep a file on every major job I've run — before photos, scope of work, change orders, budget breakdowns, and a few notes on what I'd do differently if I could go back. Every so often I pull three of them out and look at what they have in common. Usually, it's the same lesson dressed up in different drywall.
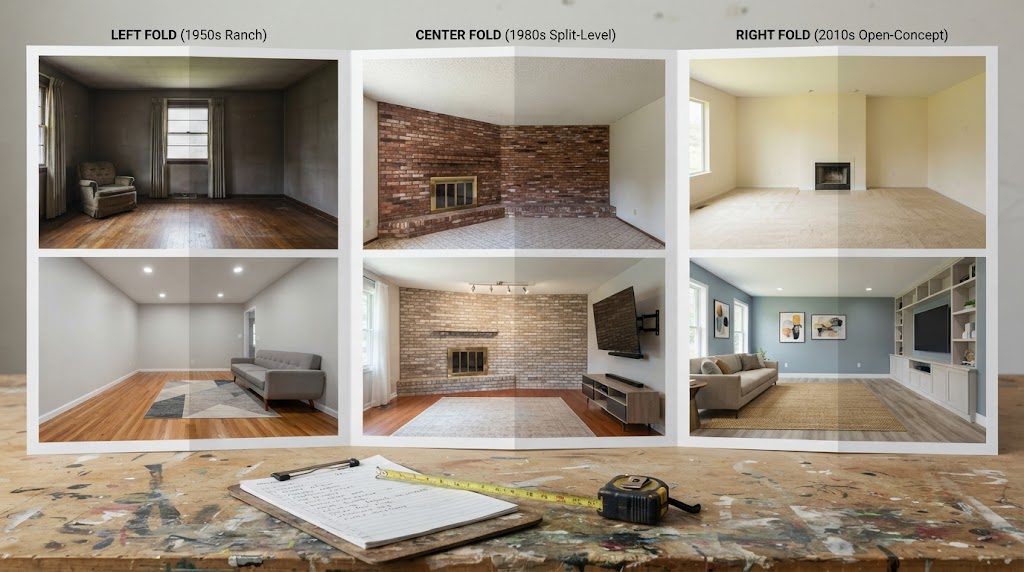
Here are three living room renovations from three different decades of San Antonio housing stock, at three different budget levels. The names and addresses are changed. The numbers are real.
The 1950s Ranch: Jefferson Neighborhood
The House
A 1952 single-story ranch, about 1,200 square feet total. The living room was 13 by 17 feet with original red oak hardwood floors, plaster walls, and a single small window on the north wall. One HVAC floor register cut into the subfloor sometime in the 1980s. The ceiling had been covered with acoustic popcorn at some point — tested negative for asbestos, thankfully — and the baseboards were original three-inch stained oak, buried under six decades of paint.
What It Needed
The homeowner wanted to restore the original hardwood, update the lighting, and make the room feel less like a dark tunnel. Budget was tight — around $6,000 for the living room portion of a whole-house refresh.
What We Found When We Opened It Up
The hardwood was in better shape than I expected — some water staining near the front door, a few deep scratches, but no warping. Sanded and refinished with a matte water-based poly, three coats. The plaster walls had hairline cracks at the corners. Not structural — just sixty years of seasonal movement. We V-grooved the cracks, taped, and skim-coated. Paint was eggshell in a warm white.
The big surprise was the subfloor under the floor register. The original installer had cut through a floor joist to fit the duct — not notched it, cut completely through. The joist had been sagging for thirty years, and the hardwood above it had a subtle dip you'd never notice until the furniture was in place and the coffee table wobbled. We sistered a new joist alongside the damaged one, patched the subfloor, and reinstalled the register in a new location that didn't intersect structure. That one fix ate $800 of the budget and was worth every penny.
The Layout Solution
The north-facing window meant the room was dim all day. We added two recessed cans on a dimmer, a ceiling fan centered in the room, and a floor outlet for a reading lamp near the sofa. The TV went on the long interior wall — no windows, no glare — and the sofa floated facing it with a clear walkway behind to the kitchen. Simple, functional, nothing clever. The room ended up feeling twice as big because the light finally reached the corners.
What I Learned
Old houses reward investigation. If I'd sanded the floors and painted the walls without checking what was underneath that floor register, the homeowner would've had a sagging joist and a bouncing floor in the middle of a freshly refinished room. Tear-out reveals what you need to know. Skip it at your own risk.
The 1980s Split-Level: Castle Hills
The House
A 1984 split-level with a sunken living room — two steps down from the entry and kitchen. The ceiling was low, just under eight feet, with a textured popcorn finish that had been painted over twice. A brick fireplace dominated the long wall, floor to ceiling, with a raised hearth that stuck out three feet into the room. The only other wall was a half-wall that opened to the dining area. The windows were builder-grade aluminum single-pane, west-facing, and the room cooked every afternoon.
What It Needed
The homeowners had a bigger budget — around $18,000 for the living room — and wanted to fix the heat problem, update the fireplace, and somehow fit a 65-inch TV into a room that had exactly one usable wall, and the fireplace owned it.
The Layout Problem
This is the classic split-level trap. The fireplace takes the only full wall. The half-wall to the dining room means the TV can't go there without blocking the open feel. The west windows make the opposite wall a glare factory after 3 PM. And the sunken floor means you can't easily rearrange furniture because every layout has to work around a two-step drop.
I spent two hours standing in that room with a laser measure and a stud finder before I found the solution. We mounted the TV on the perpendicular wall to the right of the fireplace — the only wall with studs that could hold a full-motion mount. The articulating arm pulled out and angled toward the sofa, which we floated parallel to the fireplace wall, facing the TV. The fireplace stayed unblocked, with a pair of chairs angled toward it as a secondary seating zone.
The Window Fix
The west-facing windows got exterior solar screens — the retractable kind — plus cellular shades inside with a reflective backing. Total cost for the window treatment package was around $1,200. The room temperature in August dropped by almost ten degrees. That's not an estimate — I measured it with an infrared thermometer on the same afternoon, same outdoor temperature, before and after install. The screens did more for comfort than the new HVAC system they'd put in the year before.
The Ceiling and Fireplace
We scraped the popcorn texture — messy, expensive, and the only way to make an eight-foot ceiling feel less oppressive. Painted the ceiling flat white, the walls a light warm gray in eggshell. The brick fireplace got a German schmear treatment to lighten it up without losing the texture — the homeowner's call, and honestly, it looked better than I expected. We added a reclaimed wood mantel at 60 inches, which gave the room a focal point that didn't scream 1984.
What I Learned
Sometimes the biggest problem isn't the room — it's the windows. I see contractors throw money at HVAC upgrades when the real issue is solar gain through single-pane glass. Fix the envelope first, then the mechanicals. And a sunken living room is forever — you can't raise the floor without a structural engineer and a budget that'll make your eyes water. Work with what you've got.
The 2010s Suburban Build: Alamo Ranch
The House
A 2012 suburban two-story, open-concept downstairs. The living room was one-third of a great room that included the kitchen and dining area — no walls, just a single rectangular space with builder-grade finishes throughout. Carpet over the living area, cheap MDF baseboards, four recessed cans in a grid on one switch, and a ceiling fan that moved about as much air as a butterfly. The budget was healthy — $25,000 — but the homeowners had no idea where to start because the room had no edges.
What It Needed
The carpet had to go. The lighting was abysmal. There was no definition between the living zone, the dining zone, and the kitchen. And the homeowners had two young kids and a large dog, so every surface was going to take a beating.
The Floor and the Zone
We pulled the carpet and installed a wide-plank LVP with a 20-mil wear layer — SPC core, attached underlayment, floating over the slab. Color was a mid-tone oak that wouldn't show every speck of dust and dog hair. The flooring ran continuously through the entire great room for visual flow, but we defined the living zone with a 9x12 polypropylene rug in a low pile. The rug alone created a visual boundary that the room had never had.
The Lighting Rewire
We pulled the four builder cans — they were cheap, poorly baffled, and spaced for a room that didn't exist yet. Installed six new recessed LED fixtures with adjustable gimbals: four for ambient wall-washing on a dimmer, two aimed toward the seating zone. Added a separate circuit for the ceiling fan, which we upgraded to a 52-inch DC-motor model with a 14-degree blade pitch. Separated the kitchen pendant lights onto their own switch. The result was three distinct lighting zones in one open room, each independently controllable. The homeowners said it felt like a different house.
The Storage and Trim
We ripped out the three-inch MDF baseboards and replaced with five-inch finger-jointed pine, painted white to match the door casing. Added a built-in entertainment unit along the TV wall — lower cabinets for toy storage, open shelving above for books and a few decorative pieces, with a cutout for the TV at the correct height. The built-in was the single biggest line item in the budget at around $5,500, but it solved the storage problem that had been cluttering the room since move-in day.
What I Learned
Builder-grade open floor plans are blank canvases, which sounds great until you realize a blank canvas is just an empty rectangle with bad lighting. Every dollar we spent on defining zones — rug, lighting circuits, built-in storage — paid back more in daily livability than any furniture purchase ever could. The sofa was from a mid-range retailer and cost maybe $1,800. The rug was $350. The lighting and flooring work was where the budget went, and it's what made the room function.
Three houses, three decades, three completely different sets of problems. The 1950s ranch needed structural honesty. The 1980s split-level needed solar strategy and a creative layout. The 2010s suburban build needed boundaries and light. But all three needed the same thing first: someone to stand in the room, ask what was actually wrong, and fix that before buying a single piece of furniture.


No comments yet — be the first to share a thought.