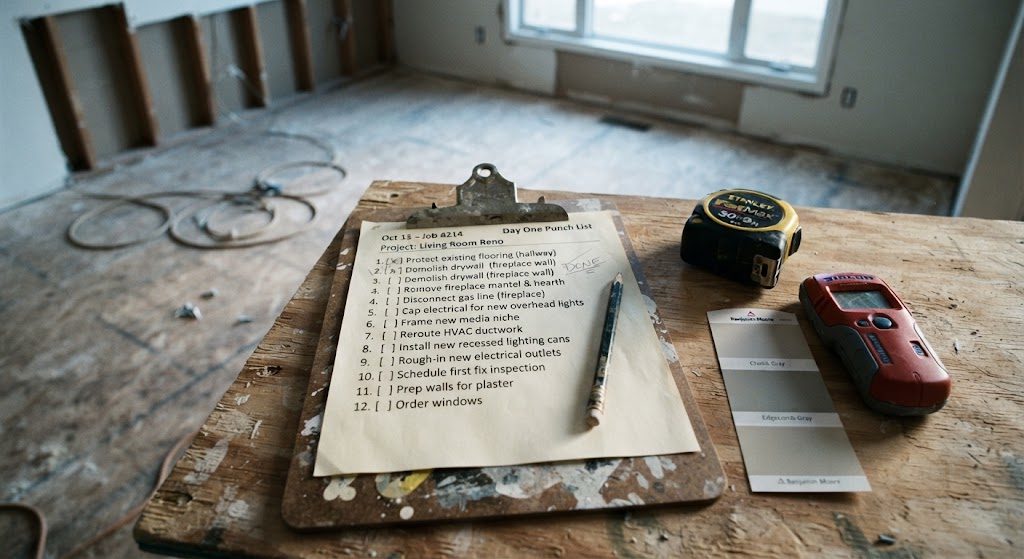
I've spent eleven years walking into living rooms that were renovated in the wrong order. The sofa arrived before the subfloor was fixed. The paint went up before the outlets were mapped. The TV got mounted before anyone checked which way the sun came in. Every one of those rooms cost more and took longer than it should have, because the homeowner did step seven before step three and had to undo half the work.
This is the fix. Twelve steps, in the order I follow on every job I run. If you do these in sequence, you'll make fewer mistakes, waste less money, and end up with a living room that actually works. Skip around, and I'll probably hear about it from the next contractor you call.
Step 1: Walk the Room With a Tape Measure
Draw the Floor Plan Before You Dream
Get a tape measure, a pencil, and a piece of paper. Measure every wall, every window, every doorway. Mark the exact locations of outlets, light switches, cable jacks, HVAC vents, and returns. Note the ceiling height. Note which direction the windows face.
Don't skip this because you think you know the room. You don't know it until you've measured it. I've had clients swear a wall was twelve feet long only to find out it was ten-foot-six when the sofa they ordered didn't fit. The tape measure doesn't lie. Your memory does.
Step 2: Check What's Underneath
Subfloor, Studs, and Structure Come First
Before you think about paint colors or furniture, find out what's going on under the carpet or behind the drywall. Walk the floor and listen for squeaks. Mark them with tape. Find your studs and verify the spacing. If you're planning to mount a TV, confirm there's blocking or solid framing where the mount will go.
Open up any areas you're unsure about — a small drywall patch is cheap to repair. A hidden floor joist that's been notched to death by a previous plumber is expensive to ignore.
Step 3: Fix the Floor
The Surface You Walk on Every Day
Flooring goes in before paint and before furniture. Whether you're refinishing existing hardwood, laying engineered wood, or floating LVP, get it done now. If you're keeping carpet, have it professionally cleaned or replaced before anything else moves in.
Make sure the subfloor is clean, level, and screw-fastened to the joists. If you're on a concrete slab in Texas, check for moisture before you lay anything down. A $30 moisture test beats a $3,000 flooring failure.
Step 4: Do the Drywall and Paint Work
Flat Surfaces First, Color Last
Patch every hole, crack, and seam. Sand smooth. Prime. Paint the ceiling first — flat white, always — then the walls in your chosen sheen and color. Eggshell is the safe bet for living rooms. Satin only if your drywall is flawless. Paint the trim and baseboards last, with a durable semi-gloss or satin trim paint.
Pull the tape while the paint is still tacky. If you let it dry completely, you'll peel chunks off with the tape. I've fixed that mistake more times than I can count.
Step 5: Install the Trim
Baseboards, Casing, and the Frame That Finishes the Room
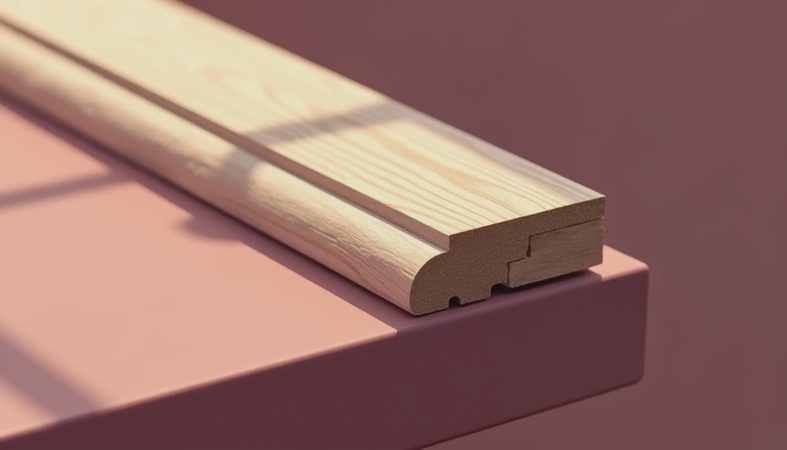
Trim goes in after paint, not before. Baseboard height should match your ceiling — 5 to 7 inches for standard 8-foot ceilings, taller for higher ceilings. Cope the inside corners. Glue and nail the outside miters. Use finger-jointed pine, not cheap MDF that'll dent when the vacuum hits it.
This is the step that makes the room feel finished. Skip it or cheap out on it, and every other choice looks worse.
Step 6: Wire the Lighting
Three Layers, Three Controls
Install your overhead ambient lights — recessed cans or a central fixture — on a dimmer switch. Add task lighting circuits: switched outlets for floor and table lamps, or dedicated wall sconces. Run wiring for accent lights now, even if you're not installing the fixtures yet. It costs almost nothing while the walls are open.
The ceiling fan gets its own switch. Kitchen and dining lights stay on separate controls. Every zone should be independently dimmable. One switch controlling everything is the fastest way to make a room feel like a 7-Eleven at midnight.
Step 7: Treat the Windows
Heat, Glare, and Privacy in One System
Install your window treatments based on the sun path you noted in step one. South- and west-facing windows get cellular shades with reflective backing. East-facing windows get light filtering for privacy. North-facing windows get minimal treatment to maximize natural light.
Layer drapes on a double rod if you want softness and light control. Exterior solar screens are the nuclear option for windows that cook the room every afternoon. Do this before furniture arrives — window treatments affect where the TV can go and which fabrics will fade.
Step 8: Define the Layout Before You Buy Furniture
Tape It Out on the Floor
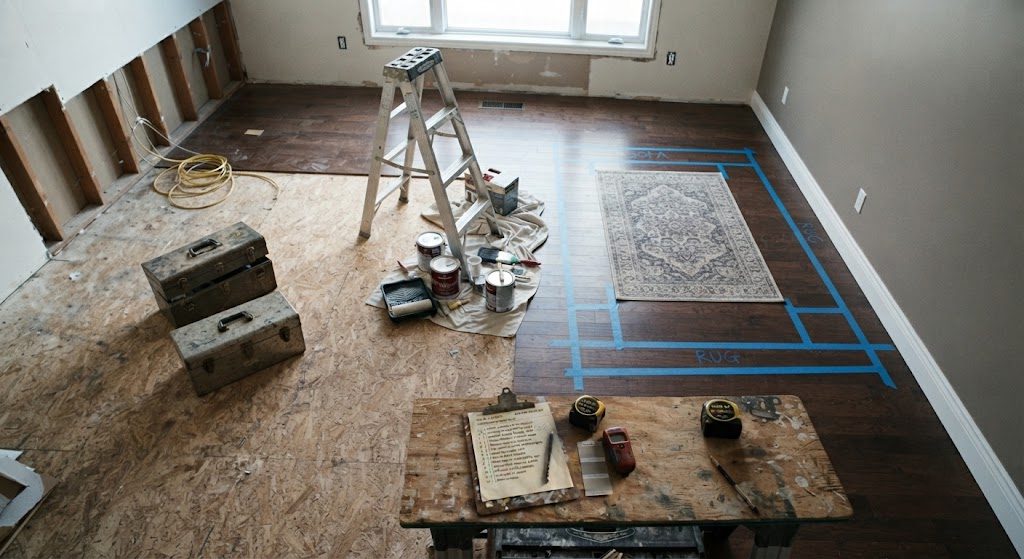
Use painter's tape to mark the footprint of every major piece on the actual floor. Sofa, coffee table, side tables, media console, accent chairs. Walk the paths between them. Make sure the walkways are at least three feet wide. Check that the HVAC return isn't blocked. Check that the TV-to-sofa distance is right for your screen size.
Live with the taped layout for a day or two. Move the tape around. This is free. Moving furniture after it's delivered is not.
Step 9: Buy the Sofa First
The Anchor Piece Everything Else Follows
The sofa is the biggest single purchase and the piece that determines the scale of everything around it. Measure your doorways and stairwells before you order. Seat depth, frame material, cushion density, fabric durability — I covered all of this in the sofa guide. Buy the right one once.
Don't buy the coffee table or side tables until the sofa is in place and you can verify heights and clearances in real life.
Step 10: Add the Area Rug and Tables
Anchor the Zone, Then Fill It In
Rug first, then tables. The rug should be big enough that the front legs of every seating piece sit on it — 8x10 minimum for most living rooms. Pick a material that can handle your life: polypropylene for kids and pets, wool for a more formal room that doesn't see wet feet.
Coffee table height should match or slightly clear the sofa seat height. Leave 12 to 18 inches between the table edge and the sofa. Side tables within arm's reach of every seat. If you've got kids, round the corners on anything at head height.
Step 11: Mount the TV at the Right Height
Eye Level From Your Seated Position
Center of the screen at 42 to 48 inches from the floor. Not above a working fireplace. On a wall without windows opposite, or with window treatments that can kill the glare. Run the cables through the wall or use a cord-hiding system. A dangling cable is the signature of a rushed job.
If the TV has to share a wall with the fireplace, use a perpendicular wall with an articulating mount, or do the side-by-side composition with a low media console tying them together. Your neck will thank you.
Step 12: Place the Lamps, Art, and the Last Throw Pillow
The Stuff That Makes It Yours
Task lighting goes in now — floor lamps next to reading chairs, table lamps on side tables. Art gets hung at 57 to 60 inches to center from the floor, not six inches from the ceiling. Add the accent lighting layer: a picture light, an LED strip in a bookcase, a small uplight in a dark corner.
Then stop. A living room doesn't need to be filled on day one. Live in it. Figure out what's missing. The best pieces in my house are the ones I waited six months to buy, because I actually knew what I needed by then.
That's the punch list. Twelve steps, in order. You can do it over six months or six weekends. What you can't do is skip to step twelve and wonder why the room doesn't feel right. Start with the tape measure. End with the throw pillow. Everything in between is what makes it last.

No comments yet — be the first to share a thought.